Clients:
Mold and die design is most often used when a company wants to mass produce an item or parts of an item out of simple materials, such as metal. The process starts with a mold design, which is then filled with the material the product is being made of (called die casting), to form the cast and, eventually, the finished product.
Creating a mold is a highly specialized process. If the measurements for the mold are even slightly off, the end product will not turn out the way it is expected or desired to. Using tools like CAD design software can ensure all the measurements for your mold and die are precise. Some molds can even be 3D printed, which can remove the risk of human error when it comes to forming the cast.
When designing a mold, the designer needs to keep in mind the shape, quality, material, uniformity, and configuration of the product being created. A correctly designed mold can increase the rate of production and decrease manufacturing costs.
There are many factors to keep in mind when designing a mold. These include: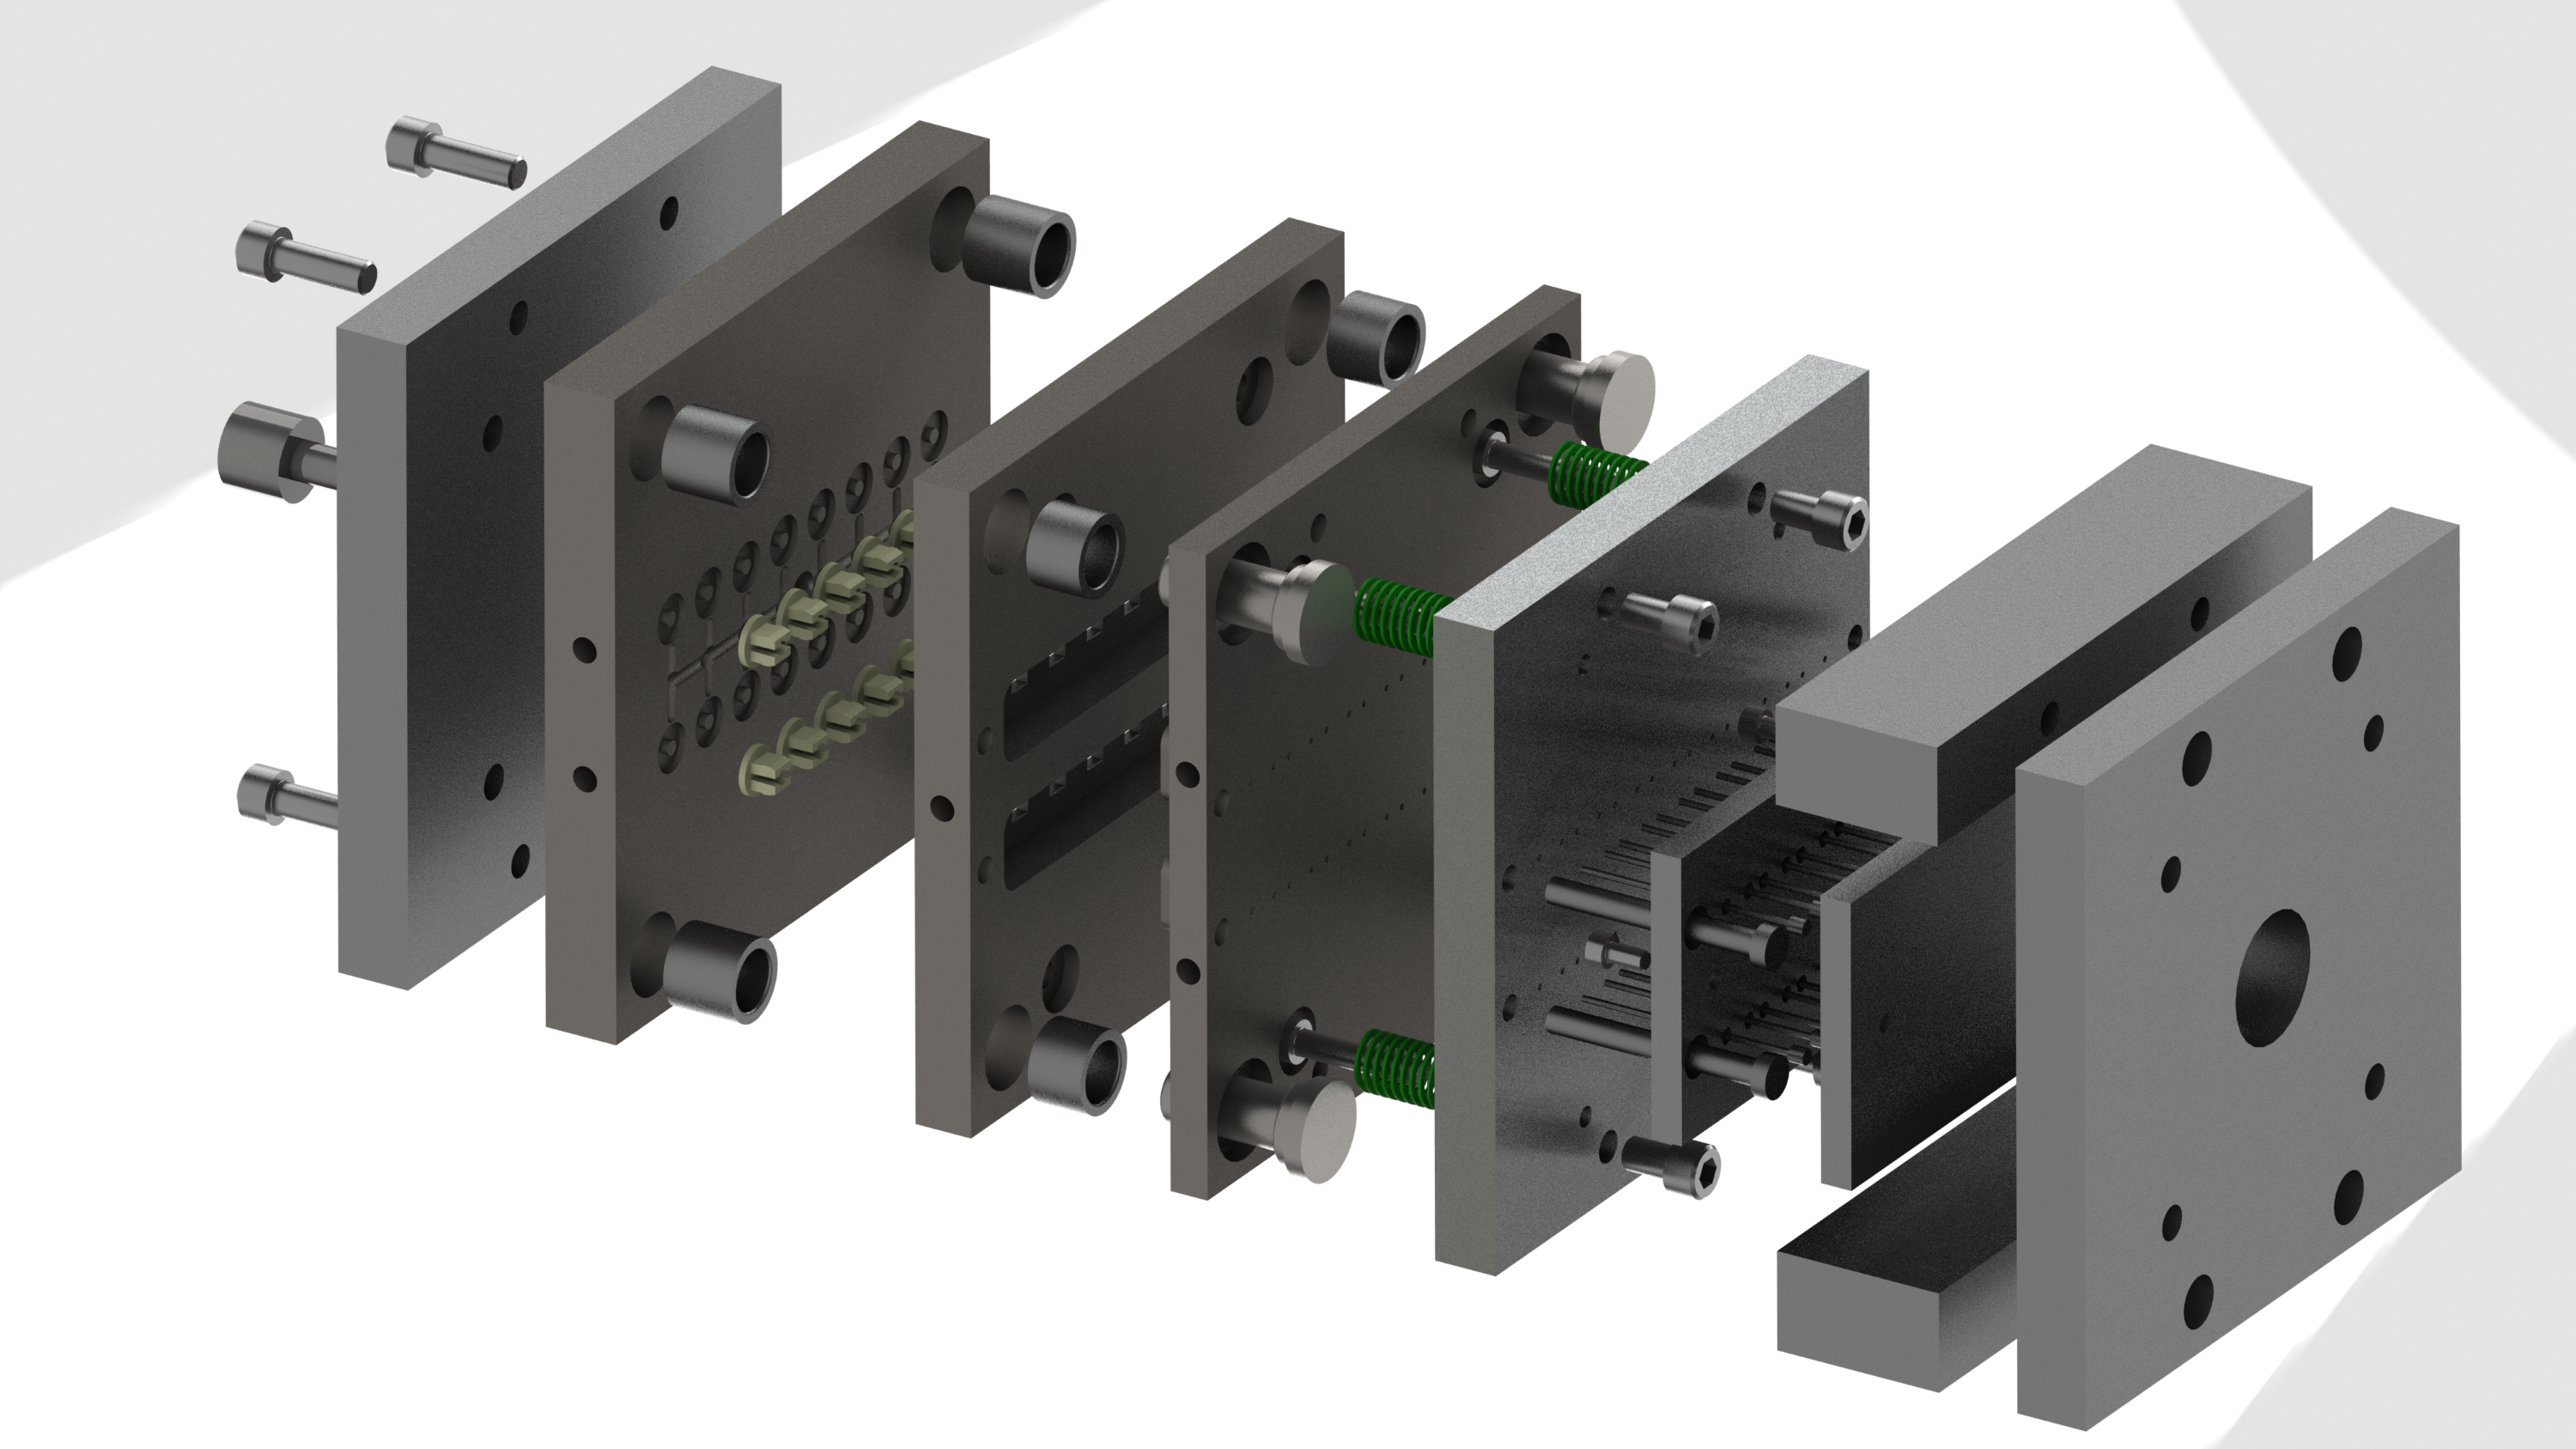
The die draft of a mold refers to its taper allowance. In other words, this is the space between the mold and the cast material that enables the removal of the cast from the mold without damaging either part or using excessive force. The draft measurement must be very precise, so the casting can be easily removed from the mold.
There are a few factors to keep in mind when calculating for die draft, including things like type of material being used for the cast, the shape of the mold wall, and how deep the mold is. The shape of the mold also plays a part in drafting. Inner walls and untapped holes are at a risk of shrinking during casting, so they will require more tapering than, for example, and outer mold wall.
A fillet is a concave-shaped corner used to smooth sharp angles in a mold. Adding fillets into a mold is a commonly used practice, because having harsh corners in the mold can slow down the casting process. Sharp corners can also reduce the strength of a product. Fillets do not have to be very large at all in order to reduce the sharpness of a corner and improve a component.
A parting line is the area that connects two sections of the mold together. Molds can have as many parting lines as there are pieces to it. These sections are very important to keep track of and maintain, as they can cause the mold to fail if they become worn or damaged from overuse. If the parting lines are not perfectly connected during the casting process, the end result will have excessive seams or worse, the die cast will seep through the mold, ruining the product.
The parting line is the only area on a mold where fillets cannot be placed to smooth the corners, as the lines on parting surfaces have to line up exactly.
Bosses are the part in the mold that will be used as a mount or stand-off point of a cast. In order to make sure all of the walls are the same thickness, manufacturers will sometimes add a hole in the middle of a boss. Certain materials, including metal, have trouble filling deep bosses during casting, so adding ribbing or filleting can help to increase the flow of the material.
Ribs are often added onto molds with thin casting walls to increase the strength of the part or product. These are especially useful in parts that are lacking in the strength or wall thickness needed to perform certain capabilities. Ribs can also be used to reduce the weight of a product or part and increase the speed of filling the cast.
Holes and windows can be problematic features to add to a die cast, because the metal material will grip onto them during the casting process, solidifying and making it different to remove to cast from the mold. To avoid this, extra die draft should be added into the mold design around the holes and windows to ensure that the cast can still be easily removed from the mold.
Additional features might also need to be added onto the mold design because holes and windows can sometimes cause the cast to fill slower and also to reduce the chances of any cast getting into the holes. These includes crossovers, flashovers, and cross feeders.
In mold and die design pockets are nicknamed “metal savers” as their number one function is saving material. Pockets in mold and die design are essentially air pockets, that don’t get filled with the casting material with the rest of the mold. In the part you’re creating doesn’t have to be 100% solid, strategically placing air pockets can reduce the weight of the part and save you money in production costs. If you’re worried about the strength of the part, adding ribs can restore any structural integrity lost in the pockets.
Some companies like to emboss products with their logo, or parts of an assembly with the different part numbers, to help when identifying them or to push the company’s branding. Adding symbols or words onto a cast can be done concavely or convexly. That is to say that the word can be etched into the part or seen as an extra embossment.
Either way, the extra symbol has to be added into the mold and taken into consideration when designing the die cast. Typically this does not slow down or complicate the casting process, but it can affect your costs for production. If your symbol is raised, some manufacturers will charge you for the additional material required to fill in the mold, no matter how minute the symbol is. If the logo is recessed into the part, this may save you a few dollars for each part you want made.
If your mold is a concave shape, more force will have to be applied during the casting process to ensure the symbol or logo is transferred clearly onto the material. Whatever the case, your designer will be sure to tell you if the symbol you want to add to the mold design will be a problem when it comes time for production.
Something that is super important to think about when designing a mold for die design is that all of the walls in the mold are the same thickness around the casting. Keeping the wall thickness uniform is key to creating uniform dimensions in your product or part. Having uniform wall thickness is also important for the flow of the material during the casting process. Uneven walls can slow down the fill of the cast, creating unevenness in the look of the product.
Design Solutions for Your Project
Cad Crowd connects you with the best mold and die designers across the globe. All our designers are thoroughly vetted before being accepted by Cad Crowd and come pre-qualified with real-world training and experience. If you aren’t sure how you want to go about creating your mold, learn more about how we can help.
Two brains are better than one and ten are even better than two. Hold your own CAD design contest and take advantage of the collective genius of all the Cad Crowd designers, competing to create the best mold and die design for your project.
If you’re ready to get started, we will match you with the designer best suited to take on your mold and die design. Leave the stress of hiring an unknown freelancer behind with our quality guaranteed services. Get a free quote today!