We’ve talked a lot about prototyping and 3D printing on this blog because it’s clearly intimately connected with 3D design and CAD drawing. But there are entire worlds beyond just rapid prototyping services, and manufacturing is an entirely different beast when it comes to what capabilities you have and what you’re limited by.
There is a major difference between trying to create ten parts in a week using a 3D printer that can easily create complex inner components, though it is sometimes more time-consuming than manufacturing 1,000 of those same parts in an eight-hour shift with a more simplified CNC or injection molding machine.
The problem arises from the fact that while 3D printers are excellent at making one piece without any fixturing, regardless of complexity, manufacturing is completely different. The goal of a manufacturing facility is exactly the opposite—it is designed to put forth effort and expense initially in order to mass-produce a product as quickly and cheaply as possible over the long run.
So, a production facility will invest in the necessary fixturing or purchase the molding machines and presses and lathes because time and cost are the most precious resources in large-scale production. Unfortunately, that will impact the design. 3D printing services can create infinitely complex internal pieces because they are simply extruding minuscule filaments of plastic layer by layer.
A production facility will not run that way—they may use an injection mold to force the material into a certain shape, and the plastic won’t flow well into the tiny crevices or crannies. Maybe creating the mold itself is impossible because it’s essentially a negative image of a complex shape. Regardless, there are many incongruities between rapid prototyping and high-volume manufacturing.
That’s where the concept of “Design for Manufacturing” (DFM) becomes relevant in the drafting services design process. Usually associated with Six Sigma and Process Efficiency metrics, design for manufacturing is the process of taking an idea or product and scaling it to be produced efficiently with the tools and resources that a production facility typically has at its disposal.
There are certain limitations on this, so it requires some creative thinking, as well as a thorough plan of action. Let’s look at some tips of designing for manufacturability used by CAD services experts and mechanical engineering professionals.
How to Design for Manufacturability
1. Look at the Manufacturing Process
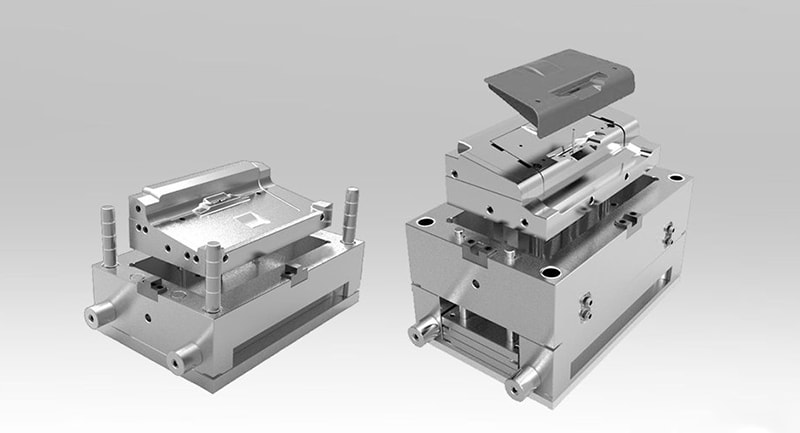
There are many steps to look at when you’re designing for manufacturability, but the first place to look should always be the manufacturing process. Don’t sell yourself short—this, by nature, should be a very detailed examination.
To examine the manufacturing process, you’ll want to look at every aspect and interaction this product will encounter in the facility. There are several things you’ll want to look for specifically when you think about the manufacturing process.
- First, you’ll want to examine the shipping and receiving of the goods. This portion will vary wildly with the type of product you’re making. For instance, electronic components will have very small goods being shipped and received, but they are vulnerable to heat and cold. Chemicals or raw materials need to be handled with care and are also vulnerable to the elements. Will they be shipped and received delicately? You don’t want to destroy half of your raw materials before beginning production.
- You’ll also want to examine storage. Like shipping and receiving, storing can pose various problems for your product. The materials may be put under pressure through stacking or packaging, which can damage certain products. You may have to reevaluate your binning system or packaging for the products if they’re going to be stored under stress for long periods of time.
- Transportation and movement in the plant is another area that needs to be examined. This is a good thing to study for every material, but it’s vital for things like chemicals, delicate goods, and very heavy items. You may pose a danger to other employees by transporting these goods, or you may potentially harm the product if they are not transported properly. Additionally, how far they must travel should be examined, simply for efficiency’s sake if nothing else.
- Finally, observe and analyze the actual manufacturing process—the machinery used and their capabilities. As we mentioned earlier, an injection mold or press can’t handle some of the delicate structures a 3D printer can create, and the individual parts you will purchase for some of the components may not be the exact same configuration you had drawn up for the initial prototype. When you look at the manufacturing process, you need a thorough understanding of how you typically create or assemble your products, so you can make it as seamless a transition as possible.
2. Examine the Product’s Design

The product’s design will be the next consideration after you’ve looked at the process and facility. Take into consideration the things you learned from walking your facility.
Will it hold up to shipping and packaging or the elements that it encounters? Can it withstand storage, perhaps having multiple copies of itself stacked on top? Will it survive the walk through the plant, or will it endanger others along the way?
Finally, can you actually make it using the machinery you have or do you need to rehash your entire process for this one piece?
The product’s design and tolerances are what will drastically impact its manufacturability. Let’s take a look at several vital factors of the design and how to adjust them for your production method.
- Wall thickness – If you’re molding something, you’ll need to have a gauge on how thick the walls of your product will be. The thickness will impact the cooling, the stress in the mold, and the possibility for deformation after completion.
- Transitions – Does the part transition between drastically different sizes or elements? With a lathe or CNC, this can create serious problems as brittle points will occur and stress will build up around the junctions, and the same will happen with a mold. Transitions are also important to understand in electronic components—are the junctions secure between each circuit piece? You’re likely bringing outside pieces or standardized pieces from other products you make to create the electronic device, so you have to ensure that the junctions are standard and that each piece will fit properly within the product.
- Tolerance – Look at the tolerance within your designs when you’re analyzing the product. In all likelihood, the tolerance of your process is less rigid than that of the product, so you may end up being out of spec parts. Adjust the tolerances on your product to ensure you maximize the capabilities of your process and produce adequate products.
- Directionality – This one seems a bit unusual, but it is especially important with plastic molds and can be vital for electronics and other products, as well. When injecting, a molded piece should have everything in the direction of pressure, because you are unlikely to get even pressure in ancillary directions.
A mold won’t work as well for a part that has multiple small offshoots as it would for one that is linear in nature. In electronics, the directionality has to do with fit and junction as well, because these pieces can only be installed in the direction of the current—so consider that in your design with the standard pieces you have on hand.
3. Analyze the Material
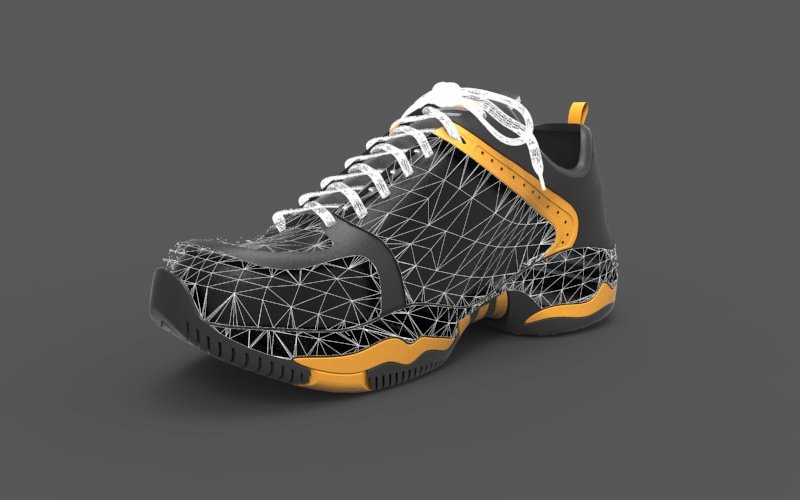
Whatever material your product will be made out of will significantly affect the production possibilities. Obviously, as we discussed in the last section, this product will be exposed to the elements and will be affected by stacking, transportation, and much more, so the material needs to be able to withstand those factors.
But more importantly, certain materials are manufactured differently, and they will affect the end-use and functionality of your product.
For instance, if you’re manufacturing a shoe for Nike or another company, your product design service may have designed the sneaker to be made from cotton and polyethylene and planned all of your prototype testing around those materials.
In the end, however, cotton is more difficult to manipulate in the manufacturing setting than polypropylene or another material. If your current process can’t handle cotton in that volume, then you’ll either have to redesign the entire process or go back to the drawing board with your shoe.
Another example comes from machining metals. I worked with a company that created plugs and receptacles for mining equipment, and we used very large lathes and CNCs to mill down raw metal bar stock and create the shape of the plug.
While we could mill copper, brass, or aluminum all with relative ease, the harder the material, the longer it took. This is a lesson in efficiency because the company determined that it could get the same performance out of a lower grade blend of brass as it could from the pure copper bar stock, but it was both cheaper and quicker to mill because it was a slightly softer metal.
While our current process was entirely capable, it wasn’t the most efficient material for what we were doing, and the company was able to save time and money simply by taking a look at the material and the manufacturing capabilities.
Since plastics are so prevalent in the world of prototype design services, here is a tip on using them when you’re trying to manufacture a product: try and find a replacement material that acts the same by comparing Young’s Modulus. Rubber polyjet plastic can simulate manufactured silicone, so it is a good 3D printed material, since it will act the same in a manufacturing process.
Nylon 12 can be used in both, or it can be swapped out for high-density polyethylene. Polyurethanes, nylons, acrylics, polycarbonate, and poly-ethyl ethyl-ketone are all common manufactured plastics, which can be simulated with a variety of 3D printed materials.
4. Consider Your Environment
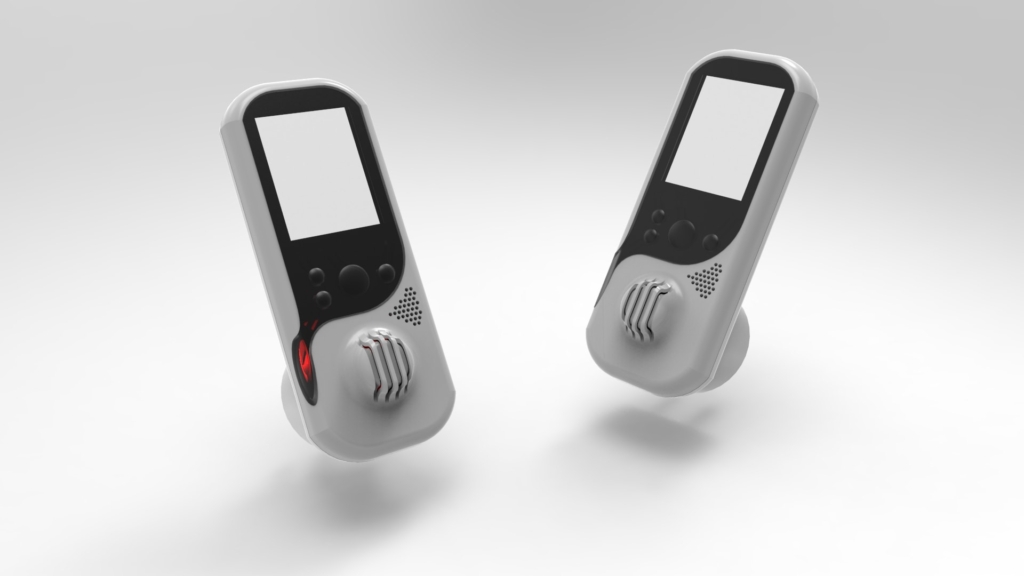
There are two main environments you need to analyze when you look at the design of your product. The first of these environments is your manufacturing environment. We’ve already discussed the material handling, shipping and receiving, and other aspects of production, but the actual environment will affect your product.
For instance, many plants are not temperature controlled, particularly if they generate large amounts of heat. A smelting facility is not a good place to receive and store candlewax for your product – although it’s difficult to imagine a company that both smelts iron and uses candlewax. Regardless, the environment of your facility needs to be taken into consideration.
Additionally, your local environment factors into the facility’s environment, simply because it has an impact. The climate of South Florida is much different than that of Denver.
Things like temperature, air pressure, and the amount of rain can drastically affect certain materials. You may not be a baker, but the production of cakes, macarons, and soufflés varies tremendously based on the relative humidity and air pressure.
Speaking of air pressure, any process that requires boiling or freezing water or other changes in state for materials, being in a place like Denver will affect the temperature this happens at – which, once again, will affect your material.
The space shuttle Challenger disaster occurred because a silicone O-ring that was installed was not rated to handle low temperatures, which they didn’t expect it to reach until they were in space and the fuel containers had detached. But it was a mild day in Florida, and the O-ring changed state and became brittle, dooming the mission.
A final environmental consideration is the environment in which the product will be used. I touched on this with the mention of the Challenger disaster. Whatever environment your product will interact with needs to be considered when you are producing it.
With metals, different annealing techniques can create different hardness and brittle qualities which can be more useful in certain environments. For electronics, you may need additional shielding from electromagnetic fields or moisture to protect the final product, and this needs to be addressed during production.
5. Evaluate Compliance and Testing Standards

A final thing that you need to check is your compliance and testing standards. The testing standards are the major requirements for your customer, and your compliance standards are the requirements for safety.
Without these two things in check, your product will never launch successfully. If you meet test spec, your customers will be satisfied, and if you meet compliance standards, you will be legally allowed to sell the product.
Usually, you can reach out to a company like Underwriter’s Laboratories to find the specific information about compliance standards if you don’t have them on hand. They will help guide you through the process of certification and compliance, and ensure your facility can manufacture compliant products.
Some common requirements are electrostatic discharge (particularly for electrical components, but other machinery may be required to undergo similar testing), flammability, water resistance, tear testing, heat transfer, chemical resistance, impact testing, and others.
This is, typically, the final phase in design for manufacturability, because it will involve testing your finished product to meet the standards and customer requirements.
At this point, you should have the equipment in your facility and have examined the material and environment so that it can be produced successfully.
To complete this phase, though, you will need to actually run production and create a trial run of multiple pieces so that you can run in-house testing, compliance testing, and even customer testing.
The benefit to this, however, is that if they are run successfully and not destroyed, you can sell them or offer them as trial products to customers. You can read more about testing prototypes and final products in some of the other blog posts on this site, but this will finalize if you have done the previous steps properly.
Reach out to your customers while you’re performing this step and see if they have any other input, because you can factor it in and test for that input as well. By doing this, you will create a product that meets not only their express needs, but will also live up to additional desires and give your company a competitive advantage over other firms.
6. Analyze Impact of Change Relative to Each Step in the Process
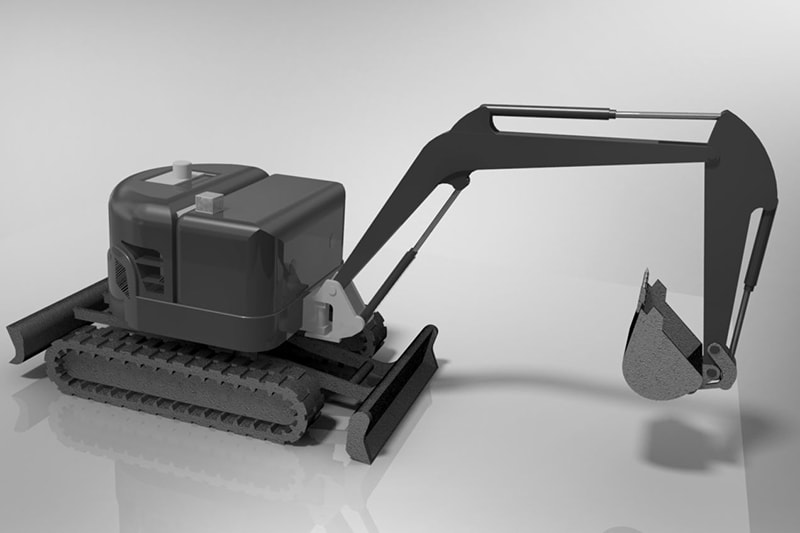
When you’re doing all of the above steps, you need to maximize your effort. Analyze each step in advance, and you’ll find that the more effort you expend on the front end, the more impactful the change will be at the end of the project.
There is a continuum of effort, where the biggest impact happens in the beginning because those changes are carried downstream and inform the rest of your process and decisions throughout the design for manufacturability procedure.
This is where making layout changes to your plant or redeveloping your receiving and storage systems will be most successful. Once you adjust for those things, the rest of your process will begin to fall in line better and you can make decisions about the rest of the changes you need with those in mind. For instance, there is less concern of using sturdy materials if you have already redesigned the warehouse so that each piece is in an individual bin instead of stacked up together.
Additionally, if you have learned that a certain material costs less and performs just as well, that will inform your decision making when creating the actual manufacturing and production step – the molding or whatever process needs to take place can be tailored to that material.
As it gets further into the process, the changes have less impact because it is more difficult to reverse the decisions you made earlier on. Factor that in when making a plan for design for manufacturing and you’ll get better results.
7. Examine Cost of Change Relative to Each Step In the Process
On the other end of the spectrum, the cost of each change will go up with each step in the process for the very same reasons. Purchasing a material ahead of time that you know will work because you have thought about it in advance will be less expensive than testing the product and realizing it is too brittle and subsequently having to purchase again and run through all the testing on the back end.
It’s clear that the bigger impact and lower costs come by doing things upfront and making decisions that will lighten your load in the long run. The same goes for machinery upgrades or tooling and fixturing.
If you know the capabilities you will have because you purchased a better device or created a mold or fixture for the product to be made in, you won’t have to fit a square peg into a round hole later on by trying to fit the product to the capabilities of the machine. This only saves your company money in the long run.
There are so many things to consider and accomplish when designing a product for manufacturability. In fact, it’s always best to have manufacturing in mind when you’re designing the initial prototype.
This is easier if you are already established with a production facility, but many people designing prototypes are trying to break into the world of production, and don’t yet have a large facility of which they know the limits and capabilities.
To their benefit, however, the newcomers can also design the manufacturing process to meet their own needs a bit better, giving them more flexibility in the design process. Overall, though, it’s best to have your final process in mind when you’re working on your product.
Efficiency is the key to a successful business, whatever you’re planning to create. Knowing the steps to analyze your process and adapt your system or product will go a long way towards helping you make the most use of your time and money to manufacture this product.
Cad Crowd’s Freelance Product Design and Prototyping Professionals Can Help
In addition to being skilled with prototyping, there are numerous resources such as freelance designers and engineers with a variety of skills in design for manufacturing, efficiency, and optimization.
Check out someone who could help your process on Cad Crowd. Whatever you choose, go out there and learn your manufacturing process so you can adjust your product to fit it as best as you can.
Learn how it works or get a free quote if you’re ready to get started.
