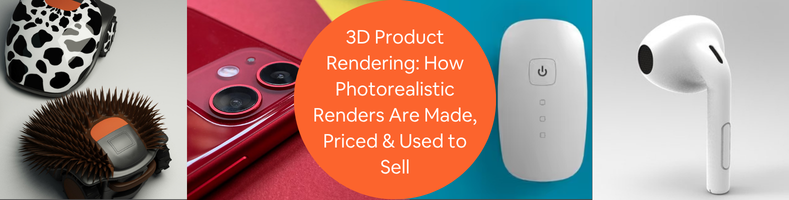
Customers often use their phone to search for a product online before they get to touch it. Their first impression comes always from the images they have seen, whether they are buying or reviewing a catalog. The use of high quality visuals can be influenced whether someone explores or moves to another product. 3D product rendering services are a crucial part of modern product development and marketing. These rendering offers to help the businesses evaluate and validate their designs, attract investors, and create marketing before the production takes place.
What Is 3D product rendering?
3D product rendering is a way of making realistic digital images or animations from a three dimensional model. It has a rendering software that can specialize in simulating a real world light, materials, reflections, shadows, to create an image that resembles a professional product photography. 3D rendering does not make use of a physical product unlike traditional photography. Every detail can be modified with the use of digitals; the utilization of rendering can offer a flexibility rather than using traditional photography. As when a product is still in a CAD model, 3D modeling designers can be able to visualize them, which makes it possible to:
- Start advertising campaigns before production
- Examine various materials and colors
- Present the ideas to investors
- Try the branding and packaging
- Make configurators for the products
- Create and produce catalogs and advertisements
- Generate images for e-commerce
RELATED: How Over-Engineering Products Hurts Per-Unit Profit Margins for New Concept Designs
The four-stage product rendering pipeline
Structured workflow is used when having a photorealistic rendering. Various stages are done to have a quality image.
Stage 1: Creating the 3D model
This stage is the ideal scenario to take as it all starts with a digital model. A quality of an underlying geometry has a great influence on the final output of the render. 3D artists can obtain a model in two ways:
Option 1: Using Existing CAD Files
This option is the fastest and cost effective approach to use as the rendering artist can directly import their files. If products exist and have been designed in software it will be easier and the artists can save up time in rebuilding it.
The following are the software that can be used to design a product:
- SolidWorks
- Fusion 360
- CATIA
- Creo
- Siemens NX
- Rhino
- Inventor
The benefits of using the option of using existing CAD files includes having a higher dimensional accuracy as measurements are consistent with the engineering design, faster turnaround, lower costs since fewer hours are spent doing modeling, easier and accessible revisions as updated CAD files can easily replace the older and existing versions. For the businesses that are collaborating with the mechanical engineers or product designers having CAD files is the most effective and efficient way to have to lower the rendering costs
Option 2: Building the model from photos or drawings
Not every business has an existing CAD file available. Some of the products have been hand made, reverse engineered, acquired from another manufacturer, or have been produced for a long time already. In these situations, an artist needs to manually recreate the product using reference photographs, sketches, measurements, and technical drawings. With the utilization of these references, the artist can rebuild the product in a 3D software.
It can be time consuming for a product to turn into a 3D model, because it needs to be meticulously and carefully made, especially every feature needs to be made by hand. A curved handle, or a texture grip may require careful measurements and multiple revisions. On the other hand, even the most intricate parts such as the complex consumer electronics or machinery, the manual modeling can account for the largest portion of the project’s budget. This addresses why rendering projects that begin with engineering CAD files are usually much less expensive than those that begin with photos.
RELATED: Top 35 Sites for Freelance 3D Product Rendering Jobs & Remote Visualization Work Projects
Stage 2: Materials and texturing – making the model look real
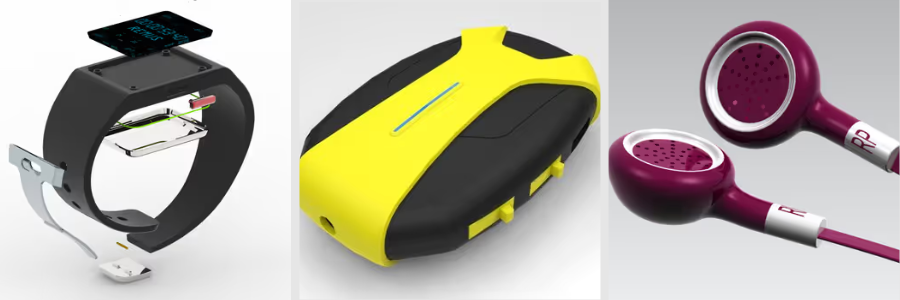
The product may appear unrealistic even if it has the correct and right shape after modeling.Since there are no material properties assigned, the models can look like smooth gray objects. The next step of the process is to add materials and textures. Some may think that choosing color is easy and as simple as it is, but a professional material creation is much more complex. Rendering software often simulates the way various materials react with light. For instance:
- The chrome may generate sharp reflections
- Through the brushed aluminum light is scattered producing a gentle linear reflections
- More light is absorbed by the matte plastic, which creates a delicate highlight
- Rubber looks soft and reflects very little light
- The glass bends and reflects light while allowing it to flow through
- Smooth plastic scatters light differently than leather, which has tiny surface flaws.
To be able to recreate these characteristics, the 3D rendering artists can adjust the numerous properties of materials, which includes the following parameters :
- Base color
- Roughness
- Metallic value
- Reflectivity
- Transparency
- Bump maps
- Normal maps
- Displacement maps
These settings will determine how a light behaves when it strikes the surface. An example of this is when two smartphones have an identical shape. The one has a glossy black glass with polished aluminum edges, while the other one utilizes a matte plastic and a textured rubber. Even if the geometry is identical, it will produce a different impression. A premium and high end one, as well as with the other one it will feel rugged and affordable. This depicts that the materials have a crucial role to play in interacting with the product’s quality.
Stage 3: Lighting and camera setup – photographing a digital product
A product that is modeled and appears flawless with realistic materials, the poor lighting can make it look artificial. Lighting is considered as one of the factors that distinguishes work between professional photorealistic rendering services and amateur renders. Expert rendering artists have a photographic mindset. They put virtual lights inside a digital environment rather than real lights in a studio. It is set to highlight the product’s best qualities rather than lighting it up.It is best for the artists to select the lighting style that best suits the intended use especially to a product.
RELATED: Why Design Engineering Won’t be Enough to Develop & Deliver Successful Products at Startups
The following are some of the lighting styles:
- Studio lighting – This is the most common set up that is utilized for e-commerce images. It utilizes soft, evenly distributed light to minimize the harsh shadows while making sure that the products are still visible. This is best to use for the customers that prefer to have precise, unambiguous product representations over artistic effects, which makes this setup especially effective for online retailers.
- Dramatic lighting – This type of style is commonly best to use by the 3D design artists who want to draw attention to the product’s key design feature. This method is widely used especially in the luxury watches, smartphones, sports gear, and automobiles as it produces a high end look.
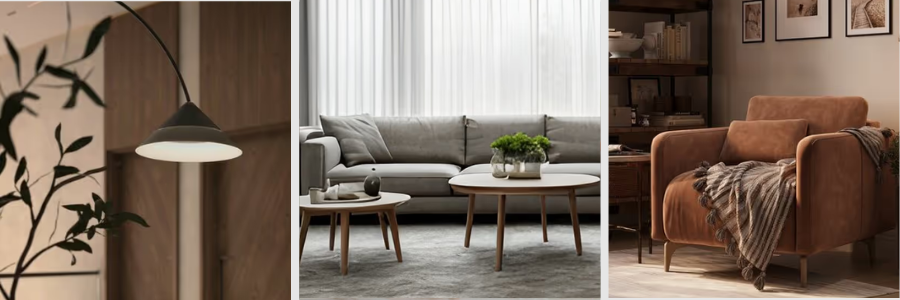
- Lifestyle lighting – To have an impression that the product is used in daily life, some of the renders put the products in a location such living rooms, offices, or in an outdoor environment. The artists replicate the natural lighting by using artificial light. With the use of having the product in an authentic setting, lifestyle scenes aid consumers in developing a connection with it.
Choosing the right and best camera
The use of lighting alone is insufficient, therefore, selecting the appropriate camera is crucial. The virtual camera also influences customers’ perceptions of the product. 3D product design artists pick carefully the viewing angle, camera height, focal length, depth of field, and lastly the image composition. For instance, a close up shot showcases fine detail and craftsmanship, while the low camera angle can make the product appear larger and more powerful. Camera placement affects the perception of a consumer towards the product as similar with the professional product photography.
Stage 4: Rendering and post-production – producing the final image
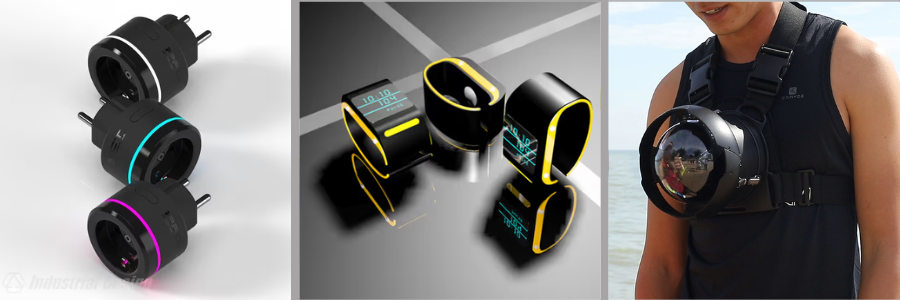
Once the model, materials, lighting, and the camera have been prepared, the rendering process begins. This phase is where the software calculates how every ray of light interacts with every surface in the scene. This includes a lot of calculations as the software determines where the shadow falls, how reflections behave, how the light passes through the transparent materials, how metals reflect to their surroundings, and lastly, how indirect the light bounces between the surfaces. Rendering takes longer as these calculations become more realistic.
A highly detailed marketing scene with glass, water, reflections, and intricate lighting may take several hours or it may even take overnight rendering to produce and generate a single high resolution image, while a straightforward white background product image might be completed in a matter of minutes. After the rendering is completed, the product rendering artist can perform the postproduction. This phase is the same with editing professional photographs.
RELATED: 10 Costly Errors that Engineers Make for New Product Design at Development Firms
With the use of software such as Adobe Photoshop, images are fine tuned through correcting colors, improving contrast, reducing digital noise, enhancing reflections, sharpening important details, adjusting brightness and replacing backgrounds when necessary. When all of the four stages are completed successfully, the final image becomes indistinguishable from a real product photograph. A lot of cases where a customer cannot easily identify whether they are looking at an actual photograph or into a computer generated photo, which exactly is the goal of having a high quality photorealistic rendering.
Types of product renders and their business uses
Every product rendered has its own function. A business that is introducing a new product may require a different kind of render than one that sells goods on Amazon. A new product design startup that is looking to impress investors has different visualization needs than a manufacturer that produces an assembly guide. Having to choose the right type of render makes it easier for the businesses to communicate effectively with the target market. There are different goals that a render aims such as focusing on providing accurate product information, or creating excitement, telling a story, or demonstrating how a product works.
The following are the most common types of product renders and the best time to use each one:
White-background e-commerce renders
When browsing online marketplaces such eBay, and Amazon, a customer can notice that the product images have one thing in common which is that the products are featured in a clean white background. This is known as a white-background e-commerce render, and it is the most used type of product visualization. Distractions are eliminated and the customer’s focus is maintained on the product itself with a simple white background. Most of the e-commerce platforms require several product images rather than only using one. The business often creates a complete image set which includes the front view, back view, side view, top and bottom angles, close up shots of key features, packaging images, and images that show the accessories or the components.
Marketing hero shots
Hero shots usually focus on emotion. A hero shot acts as the main promotional image for a product. It shows up on a business’s homepage, in commercials, on social media, or when a new product is introduced. Rather than recording every detail, it generates excitement and enhances the reputation of the brand. A product development artist makes use of dramatic lighting, camera angles, and a premium looking background to make the product stand out. A hero shot allows the company to strengthen its identity. A luxury brand might employ tasteful lighting and straightforward compositions, whereas an outdoor equipment company might highlight harsh settings that highlight toughness and adventure.
RELATED: How to Find the Right Industrial Design Company for Successful Product Development
Lifestyle renders
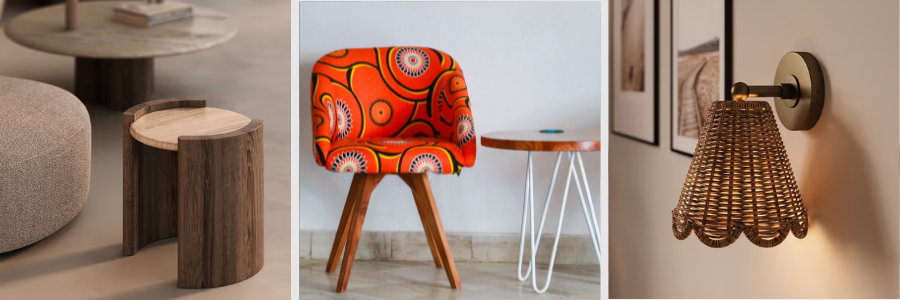
A customer does not buy the products alone but they buy the experiences. Lifestyle renders makes customers imagine how a product fits to their daily lives by having it in a realistic environment rather than in an isolated studio setting. An example of this is a desk lamp inside a stylish home office, and a sofa that is a part of a designed living room. A Lifestyle render provides a visual response to the question of how a product will appear in a customer’s home, office, or workplace. It also conveys an important detail about scale, size, and purpose.
360-Degree product spins
When in a physical store, customers pick up products, rotate them, and examine them from every angle, and an online shopper cannot easily do it unless a business gives an interactive product experience. This is where 3D 360 degree panorama rendering services are invaluable. A 360 degree product spin allows the customer to rotate a product on their smartphones rather than viewing in one or two static images.
360-Degree Product Spins provide a customer a better understanding of the shape and design of the products and have trust by giving details that might remain hidden in a standard photograph. As well as, the customers can know exactly what to expect before making a purchase, reducing the chance to return the product. A company that makes use of 360 degree product spins is usually seen in products such footwear, sporting goods, automotive accessories, where visual inspection plays a crucial role in buying decisions.
Product animations
Product animations solve a problem by showing a movement. Rather than displaying a simple image, animations demonstrate how a product works, how the components fit together, and how a customer should use it. Businesses usually use animations to show the moving components, present exploded views, explain assembly instructions, and create promotional launch videos.
RELATED: How 3D Animation Helps Deliver Immersive Marketing Campaigns & Company Services
AR-ready models
One of the applications for 3D product visualization that is expanding the fastest is augmented reality (AR) rendering services. Businesses can benefit a lot from the AR ready models such that customers are able to assess a product’s size, appearance, and a placement before making a purchase, which gives them greater confidence. Higher customer satisfaction and fewer returns are frequently the results of this.
Understanding 3D product rendering costs
Before rendering a project a business first question is “How much will it cost?” The answer to it depends on a lot of factors, which includes the product’s complexity, number or images required, the level of realism, and if the 3D rendering artist must start from scratch when creating the 3D model. A simple render requires less time than a detailed visualization of an industrial machine. Rather than thinking of rendering as a fixed price service, it is important to think of it as a combination of tasks. In every project it can include a lot of modeling, lighting, material creation, revisions, and the postproduction. The more in depth a product works in every stage, the more it becomes costly.
Typical 3D product rendering price ranges
| Project Type | Typical Price Range | Best For |
| Simple White-background Product stills | $50–$300 per image | Amazon listings, Shopify stores, catalogs, technical documentation |
| Mid-range Commercial Renders | $300–$1,000 per image | Marketing materials, websites, brochures, crowdfunding campaigns |
| High-end Photorealistic Renders | $1,000–$5,000+ per image | Luxury products, advertising campaigns, complex machinery, premium branding |
| Product Animations | Typically priced per second of finished animation | Product demonstrations, feature videos, trade shows, promotional campaigns |
A small consumer product with simple materials is more inexpensive than a complex device. Rather than choosing the lowest quote, the businesses should evaluate the artist’s portfolio, technical expertise, and the ability to understand both the data and marketing goals.
RELATED: How 3D Product Animations Boost Sales When Hiring Design Studios & Freelancers
Two simple ways to reduce rendering costs
Provide clean CAD files
The easiest way to lower the rendering costs is to provide clean and organized CAD files. By providing a clean CAD files offers benefits such as it reduces a modeling time, preserves the product’s engineering accuracy, lowers the overall labor costs, shortens the project timelines, and makes the future design revisions easier.
Batch multiple views from one model
Once the product designer has finished building the model, it becomes much more efficient to generate an additional view. Rather than having to repeat the entire process, they simply alter the camera angle, lighting, or environment to produce new images. An example of this is one product model can generate a hero shot for advertisement, close up an image that highlights the important features, white background images for the e-commerce listings.
How AI is changing product rendering
Artificial intelligence has become a part of the product visualization workflow. It enhances the existing 3D models, and generates product images in a short span of time.
Sketch-to-render
It converts the hand drawn concepts or the digital sketches into polished product images. It is often used in the early stages of product development to visualize styling ideas before having a 3D model.
Model-to-render
Model-to-render tools to enhance lighting, materials, backgrounds, and overall realism from an existing 3D model use AI. Rather than using a manual style of adjusting the visual elements, a 3D modeler can produce concept images in a short period of time. When a team wants to compare the various visual styles before committing to intricate rendering work, these tools can save time.
RELATED: Pros & Cons of AI for 3D Modeling Services and Your Cost Savings at Companies in 2026
Where AI still falls short
AI can accelerate the development but it has its limitation that is to control the revision. As artists work with editable 3D scenes, these revisions are simple when using traditional rendering software. However, whenever users make even a minor alteration, AI-generated images frequently regenerate significant portions of the image. It also struggles with dimensional accuracy. AI generated images can distort the proportions, and the features. It can be problematic when a business needs to have accurate marketing visuals for the final manufactured product.
Why work with Cad Crowd?
Photorealistic 3D product rendering services are an essential part of modern product development and marketing. By understanding the rendering process, it makes it easier for the businesses to make smarter decisions. By having a CAD Crowd, it would be easier to have realistic and compelling visuals that creates confidence, and helps the innovative product designs into a commercial success.
Cad Crowd allows to connect and partner with companies to skilled industrial designers, CAD specialists, and 3D rendering experts who can turn technical models into an eye catching marketing materials. Whether you may need a clean commerce images, or a premium hero shots. Cad Crowd matches every project needs with experts that have the knowledge and experience in doing it.
A lot of Cad Crowd’s CAD design professionals have the knowledge to understand engineering and product development work. They have the ability to deliver visuals that represent the final product as well as have manufacturing ready CAD files. Businesses can streamline collaboration, cut down on revisions, and confidently launch products easily. Contact us for a quote today.