Every design process involves prototyping. It’s one of the last steps that all product designers must undergo before they can transform their ideas into fully functioning products that are ready to launch.
Building a prototype before mass production gives a chance for inventors, designers, manufacturers, as well as product testers to figure out whether the product lives up to their expectations or requires further refinements.
Since prototypes are only made in small quantity, there is little financial risk in the event that they have design flaws. They can improve the defects right away without disappointing their potential customer base. Only when the prototype passes a series of tests to determine functionality, durability, compliance with industry regulation, and patent liability can mass production begin.
What Exactly Is a Prototype?
In simple words, a prototype is a replica of a product. One thing to remember is that the term “replica” does not strictly refer to a “copy” of the original. In this case, a replica is a sample of the actual product to be manufactured.
A prototype must possess the same exact specifications – or as close as possible – as the real product. An effective method to understand a product’s limitations is to put the prototype through a trial run in expected real-world applications.
For example, you need to do a test drive to gather data about the vehicle’s mileage, top speed, acceleration, braking distance, and handling. It’s also necessary to put the vehicle under “stress testing” (sometimes referred to as torture testing) to determine a product’s breaking point.
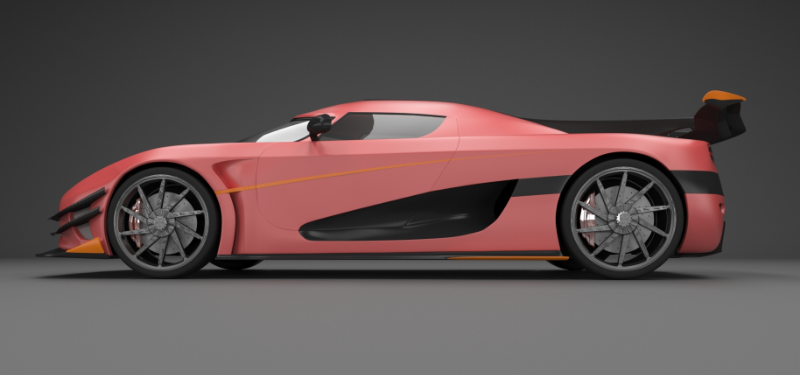
A prototype does not have to be a physical model, however. Using the same example, an automaker can create a digital 3D model of a car to see how the vehicle performs in a simulation. The data gathered during the simulation run is theoretical, and the car still requires real-world testing, but digital data can be a good baseline.

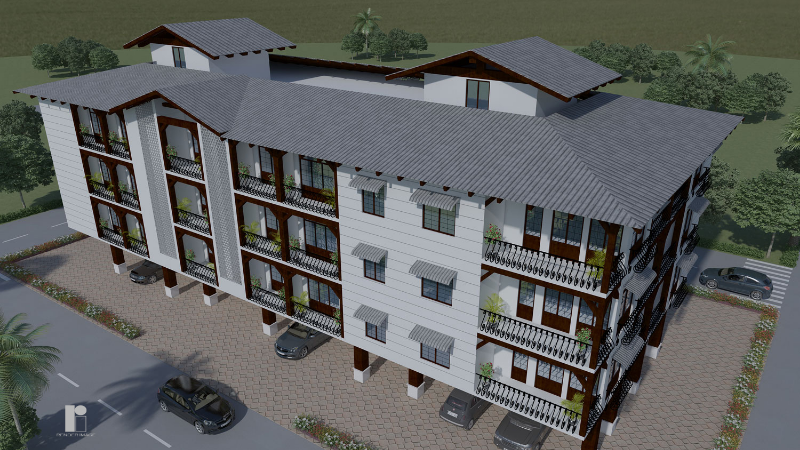
Depending on the complexity of the design, sometimes a physical prototype is not a viable option. For example, it makes no financial sense to build a skyscraper prototype with the same specifications as an actual building. The solution is to create a virtual 3D representation and much smaller replica using more affordable materials. The former can be used during torture testing (with computer simulations), while the latter is for display or aesthetic purpose only.
Why Do You Need One?
A prototype makes it easier for you to acquire feedback from testers or manufacturers even before you begin the production process. While it’s not impossible to start a discussion about product specifications – including materials, production cost, form factor, etc. – without a prototype, the conversation will flow more easily with one. Testers can also provide feedback more understandably.
Apart from that, a prototype can help your process along in other ways.
- It allows you to conduct thorough concrete tests to test the functionality of a product. The real world presents variables that you will only encounter during real-world environment test procedures. A product in its earliest form (concepts and rudimentary sketches) is almost always perfect only because it has yet to be materialized. When transformed into a physical object, the product will encounter some issues, regardless of how insignificant they may seem. Even if there are no issues, a prototype helps you see the parts of the product that still have room for improvement. And the best thing is that all possible improvements can be implemented before the product is mass-produced.
- A prototype allows you to experiment with different materials. Ideally, you need to have multiple prototypes to analyze, with each designed to be different for easy comparison. Have a small number of prototypes built, and make sure each is made of different materials. Even if you’re dead set on metal, there are plenty of types of metals you can test. These include aluminum, brass, iron, silver, copper, stainless steel, and gold. You can also try plastic, wood, ceramic, or a combination. The material of choice can affect product efficiency, longevity, and production cost.
- It makes a better presentation piece. Whether you’re showcasing your technical proficiency to a group of consumers or raising funds from investors, having a prototype in hand improves your chances of making a convincing statement. It’s easier for marketers to attract consumers and investors if you have something to show or demonstrate to the audience.
Having a prototype is a credential in its own right. Investors and the patent office will take you more seriously as soon as they see you have a working model of the product. To some extent, the prototype is evidence that you are willing to go the extra mile and are prepared.
While it isn’t mandatory to have a prototype to file a patent, it’s always better to go beyond expectations. Investors appreciate inventors who can prove technical viability rather than those who only bring vague ideas to the table.
In general, a prototype brings the inventors idea into reality. It can save you money by helping you identify flaws early on, providing a realistic perspective of product performance, and pinpointing room for improvements.
The Different Stages of a Prototype
A lot of product creators feel that prototyping actually reinforces their creative minds. As soon as they see their ideas manifest into physical objects or digital 3D models, they get new ideas. They identify missing features and potential additional functionalities to add.
A product in its conceptual stage is nothing but an abstract object. Although some inventors are possibly able to visualize the ideas in hand-drawn sketches, the three-dimensional representation of the object is undoubtedly much easier to work with.
Before a prototype is ready for mass production, it must undergo several steps.
- Proof of concept
Often, in the form of rudimentary hand-drawn sketches, prototypes at this stage do not have any demonstrable functionality. This is simply a written or drawn representation of ideas. The proof of concept shows that multiple design elements, including manufacturing techniques, can be used to build the product in discussion.
A proof of concept is only as good as the way you explain it. The attached information about dimension, materials, shapes, assembly, and features determine whether you have a valid idea.
- 3D printed model
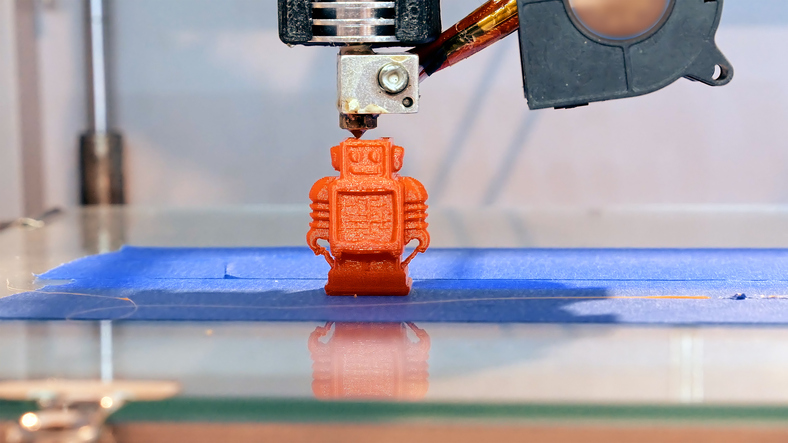
An improved version of a proof of concept is a 3D printed model, built with a process commonly known as rapid prototyping. It is an efficient method to transform a concept into a physical object, but there is plenty of room for improvement. In fact, a 3D printed model is only a representation of what the product would look like.

To print the object in 3D, you need to create a printable digital file with a CAD program (a CAD service provider can help with that). Since 3D printers also have limitations regarding filament materials, the printed object will only give you an idea of the product’s form factor, but not its weight and functionality.
- Prototype for demonstration
It’s possible to use a 3D CAD model or physical prototype to demonstrate a product’s form factor, performance, and functionality. Unlike a digital printable file, a virtual 3D model at this stage contains much more data that users (or testers) can manipulate and test.
For example, you can build a 3D CAD model of a bicycle and run it through a series of simulation tests to check its mechanical performance, material durability, aerodynamics, and overall structural rigidity. As mentioned earlier, the data gathered are theoretical figures.
Despite its limitations, a digital model is a good medium to present your ideas to potential consumers, investors, or factory partners.
- Functional prototype
The physical version of a CAD model is often called a functional prototype. It has all the features of your actual product, but it’s not the final version. The appearance or aesthetic aspects of it have not been finalized.
It has not been painted, polished, or even branded. This type of prototype proves that the product works as intended. Additional cosmetic treatments further down the road will not affect its performance.
- Aesthetic prototype
A product’s expected look and feel, when it’s finally launched, is shown first as a sample or prototype. Instead of focusing on function, this aesthetic prototype emphasizes the aesthetics, focusing on the colors, textures, form factors, materials, and other ornamental factors. The prototype does not have to function, but it should represent what your product will look like once released.
- Alpha and Beta builds
If both the functional and aesthetic prototypes (or the CAD model) are good enough for further development, you can proceed to build an alpha version of the product. Depending on your approach in the design process, you may need to get approval from an investor or factory partner beforehand, or you can decide to move forward on your own.
An alpha build is the earliest working version of your product with all the characteristics of a completed build. However, this version is not released to the market; instead, it goes to a team of product testers. Based on the feedback you receive, you make some improvements for the beta build, the second pre-production run.
This version goes to the same testers who will provide more suggestions. Feedbacks to the beta units help you determine what improvements to make for the final production version. This is the production batch that goes to the consumer market.
In general, prototyping follows a simple order of steps: crafting ideas, rough representation of ideas, creation of samples, refined version intended for testers, and finally, a fully-developed product for consumers to purchase. After the alpha and beta builds, your product should no longer have design flaws, in the sense that it has become a true accurate manifestation of your original idea.
When a Digital Prototype is Sufficient
A prototype does not always have to be a physical representation of an item. As mentioned earlier, a replica of a building would be far too expensive to make. In fact, many architectural designs including skyscrapers, bridges, monuments, dams, football stadiums, and even residential buildings are represented by small-scale prototypes.

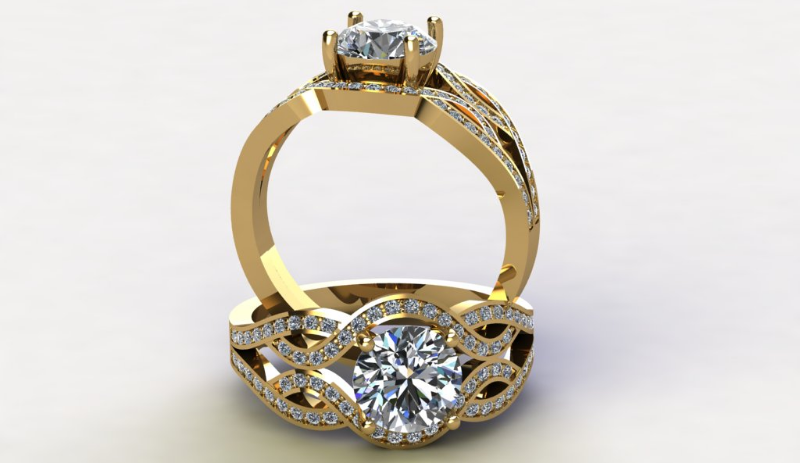
But a small-sized replica has limitations when you’re using it as a piece for presentation. To accommodate the more intricate parts of your design, you can use a 3D CAD model instead. Certain 3D rendering services specialize in creating prototypes, and with the right software, the model can be as interactive as you want.
It will be easy to change the color, texture, material, viewing angle, see the wireframe, and so on. Some CAD programs even allow you to input and manipulate data points to see how the design would withstand weather, wind speed, floods, earthquakes, and other forms of natural disasters. To give a clear, accurate representation of the design, the computer must be able to render the 3D model in crisp, hyper-realistic quality.
Designing and Building Prototypes
Not every invention or new product design is granted a patent. There can be issues with the paperwork, or the product may not be original enough. This should not stop you from trying. You can actually improve your chances of acquiring a patent by filing an application attached with a prototype of your product or design.
Although a prototype is neither mandatory nor required by the U.S. Patent Office, it is used as a tool to demonstrate your ideas and make them more easily understood. A prototype may give additional information that the paperwork cannot sufficiently provide.
Here are some steps you can follow to get your prototype built.
- Brainstorming and concept sketch
A lot of great products started with either a diligent brainstorming process or were an accidental discovery. Regardless of what brought the newly invented design to your mind, you’ll need to put together a concept sketch. Also, write down the time and date to keep track of how quickly (or slowly) you’re progressing.
The writing and drawing must complement and be relevant to each other. Of course, you can use software to create a digital drawing, but hand-drawn sketches may be more time efficient at this point.
Don’t worry about your artistic skills. You’re not drawing for an art gallery; you’re trying to visualize ideas. Accompany the sketch with a description, and that is what matters the most. The trick is to draw many sketches to cover all parts of the product design.
Each part comes with an explanation of what it actually is and does, and how it should work. Once you know that you have compiled every word and image to describe your ideas, keep the sketchbook as documentation to file for a patent at a later date. It is worth mentioning that sketches drawn by hand have more legal power in case you must defend your intellectual property in court.
How do you tell if the sketchbook has all the information you need? Pretend that the product is already in existence and write a user manual for it. Describe the product, its intended purpose, safety information, and tell readers how they are supposed to use the product. Assuming the user manual is comprehensive and nowhere near ambiguous, the information on the sketchbook is good. If not, you can either refine the user manual or the sketchbook to make them more relevant to each other.
- Build a model on the cheap – optional
Based on the written information and images in the sketchbook, build a rough model of your product. It does not have to be pretty or even functional; the important point is to make sure that the ideas are technically viable. This is going to be a crude prototype, so it doesn’t matter what materials you use.
Go to hobby and craft stores to find some cheap materials and tools you may need. Use everyday items such as cardboard, plywood, glue, and duct tape. You could even create your model with Lego if you’re skillful enough. Just like the sketching process, ending up with an unsightly model is fine.
This is an optional process, so you can skip it entirely, stick with the sketches, and move on to the next step. The good thing about a crude prototype is that it helps you think about how to improve the product design before you even create your prototype.
- Have a digital prototype built
The previous step is optional because you will need to create a digital prototype anyway. This prototype is almost as good as a physical model regarding appearance. The models, both in 2D and 3D, are hyper-realistic.
A 3D model is often more preferable than 2D versions (although both can be used for the same design) because it gives a more convincing presentation of the product dimensions, textures, functions, appearance, and the inner mechanisms or electrical wiring of a product.
When the finished digital model is rendered on a computer, you can inspect every little detail of it with precision. You can rotate and animate the sketch to see how it looks from different angles. Keep in mind that the 3D model should resemble the physical product.
A sophisticated design (consisting of mechanical parts, electric components or circuitry, modularity, or engines) or one that needs to show the complexity of assembly or construction could make for a difficult digitization process. Unless you’re well-versed in 3D CAD design, it’s a job best left to a professional or a team of professionals. In fact, there are prototype design services that specialize in exactly what you’re looking for.

Before you hire someone, have the prototype developer sign a non-disclosure agreement (NDA) prior to showing them your sketchbook. Since you don’t have a patent, this is one of the most effective ways to protect your intellectual property.
Your sketchbook is filled with written information and some sketches, but the 3D modelers may find it quite difficult to understand. Explain how the product should work and collaborate with them as frequently as you can. Make it clear that you want a 3D model that shows how the product functions, not just a 3D printable file. Good communication is of the utmost importance because you don’t want to ask for too many revisions.
- Have a physical prototype built
If it’s within budget and your product isn’t too large (like a building), you must build a physical working model of the product. The process of building a physical prototype also largely depends on the complexity of the design. For example, if it is a simple product made of materials that are both readily available and easy to work with (e.g., wood, leather, fabrics, paper, cardboard, fiberboard, etc.), you probably can build the prototype on your own given the right tools for the job.
Hiring a professional or a custom manufacturing company is a much better alternative to ensure a high-quality product. Asking a handyman – carpenter, sculptor, CNC machinist, electrician, etc. – also makes financial sense when short on cash. Just like with the previous step, enforce an NDA.
The correct way to build a prototype is to start with the less expensive materials or process. Expect to find a flaw or two with the first several prototypes, and there is nothing wrong with asking for corrections.
Filing for a Patent
Now that you have a working prototype, hire a qualified patent attorney and file a patent for your product. Both of them cost money; even if you file the patent on your own, the application itself is not free. After applying, it may take 24 months (if not longer) until your product is granted a patent, and that is assuming everything goes as planned.
To eliminate issues during the waiting period, file a provisional patent instead. This type of patent does not go into the queue; instead, you get a patent pending status. However, you still need to file a non-provisional patent within one year of the filing date of the provisional application. If you fail to meet the deadline, your non-provisional application could be blocked entirely for many legal and complicated reasons.
There are many different types of patents and knowing what they are could make your entrepreneurial life a lot easier.
Finding the Right Custom Prototype Manufacturer
For a product that is too complex for an individual to create, your best bet is to go with a prototyping company that offers custom manufacturing services and flexible order quantities. When working with custom manufacturing, however, you may not be allowed to order only one unit.
A good prototyping company is willing to work with you to sort out potential issues. You can discuss materials, manufacturing cost, and intellectual property protection. They may even suggest how you can improve your product.
Unfortunately, not every custom manufacturing company is created equal. To get the best service and protect your investments, choose a prototyping company that meets the following criteria.
- End-to-End Prototyping Capabilities
When a company says that it offers a custom prototyping service, it should indeed be able to handle the entire process in-house. For example, a prototyping service that mainly does plastic injection molding should not accept a project that involves a lot of CNC machining with the hope that it can outsource the latter to another entity.
Even if you plan to use a custom manufacturing service to create parts of the product and then assemble them yourself, working with multiple prototyping companies can bring a lot of difficulties in coordinating orders and possible returns for defects or mistakes. Communication can be a serious issue as well.
What you want is to discuss the manufacturing process, cost, potential design changes, materials, and project timeframe in one place with the person in charge. You already have a lot of variables to consider when working with just one company; adding another party to the scheme can overcomplicate things.
Let us not forget that this is probably, to you, a side project that you do while keeping your day job. Having the complete prototype built and assembled in one place will simplify the process. Another good thing is that your intellectual property is most likely safer if the prototyping work is done under one roof. Before you acquire a patent, it is in your best interest to limit how many people see your design.
- Familiarity with the Industry
Look for information about the company’s portfolio, including the services it offers. To be safe, only work with a prototyping service that has been in the business for at least several years and has a good reputation. The list of services must include all methods that you expect to be used for building your prototype. These may include injection molding and casting, 3D printing, metal fabrication, CNC machining, electrical assembly, precision laser cutting, or complete custom manufacturing process.
Take a look at the company’s portfolio (or ask for one if you cannot find it on the company’s website) to see if it has completed similar projects. The last thing you need is to work with a company that has no idea about the particular niche you’re in.
- Rapid Change Management
A company should accept the fact that you can change your mind about certain parts of the design at any time, and they should accommodate the potential setback with rapid change management. Changes will cost more money on your side, but sometimes, it’s a necessary cost.
The changes can be minor and cosmetic only, like adding new colors, additional lettering, or a small alteration in form factor. Even if you require a major design overhaul that greatly affects the manufacturing process and completion time, the company has to be flexible and willing to take the risk with you.
- Order Volume Versatility
A lot of prototyping companies will not cater to a one-unit order for a prototype for various reasons. Small quantity orders can be financially impossible on the company’s part, especially if it has to invest in new equipment to build the prototype.
Another reason is that a small order is actually more expensive because the materials and parts come cheaper if purchased in bulk. The minimum order quantity (MOQ) could be hundreds if not thousands of units. Choose a company that has a lower MOQ requirement, so you can get some prototypes ready to send to the market without spending too much on the first production batch.
Many inventors raise money from investors through various methods. For example, they could build a successful crowdfunding campaign. The money is then used to hire a patent attorney, file the patent application, build fully-working prototypes (as the first fully working first mass-production run), marketing efforts, and develop a business. Or you can fund everything yourself, and own 100% share of the business you build.
If you happen to be in the process of creating a prototype for your new product, Cad Crowd can help. We have a network of pre-vetted, confidential freelance CAD designers and 3D modelers ready to go. Whether you’re designing a new pair of shoes or a new car, contact us for a free quote.
