


Totem Tennis Game Kit
Inerapello
 Top Designer
Top Designer
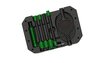
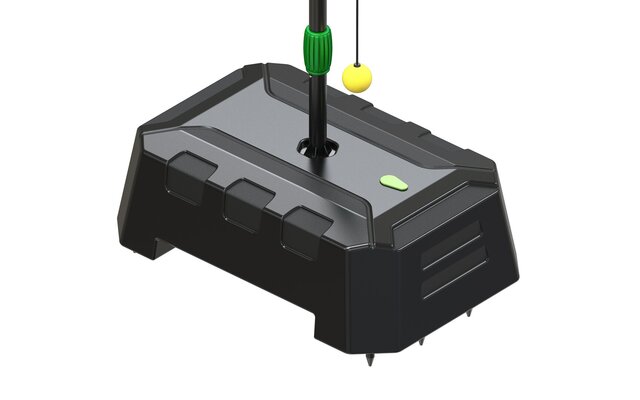
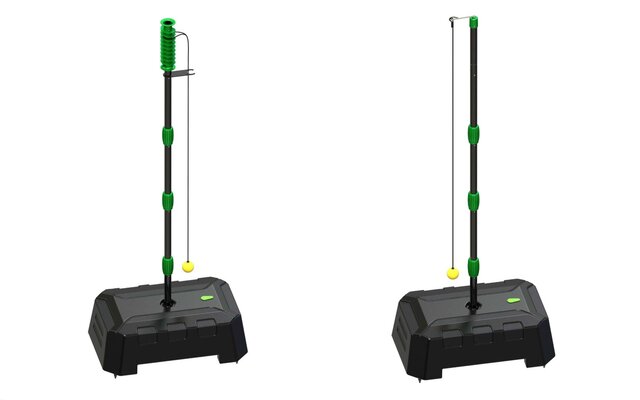
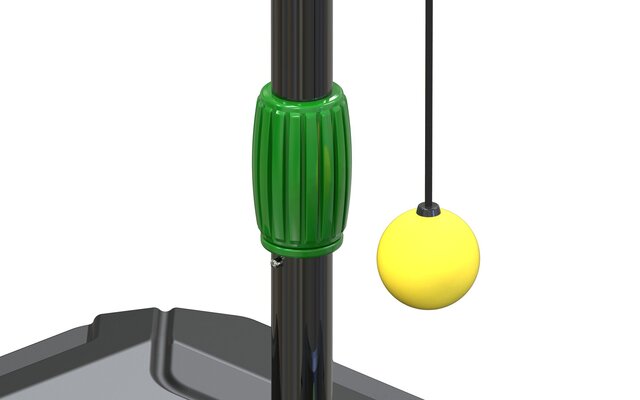
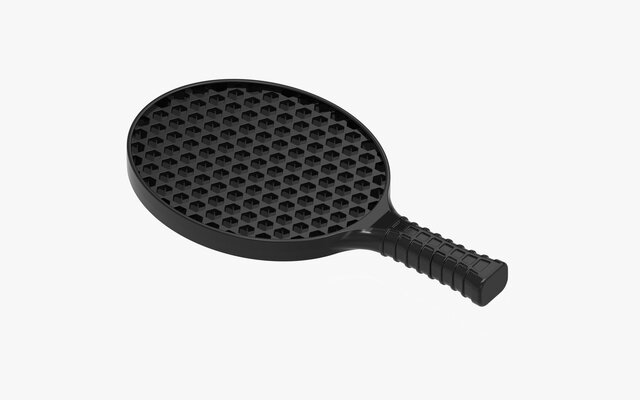
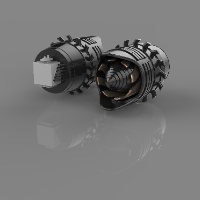
This is a Totem Tennis Game kit. It has a "Base" to which the base pole is connected. The "Base" is filled with water or sand for stability through an opening at the top, which is sealed with a silicone lid. There are 8 stakes that can be attached to the conical housings at the bottom of the Base for secure anchoring in the ground (grass or sand) during yard and beach play. There are four Poles that are interlocked to each other via two coupling mechanisms. A "Pole Extension" is attached to the topmost pole, to which two attachments can be connected interchangeably. One is a helical groove attachment in which the looped end of a rope sways around the helix when the tethered ball attached at the end of this rope is hit by a racket during the game-play. The other is a traditional turnball attachment which has a hook to which a rope is tied. This hook rotates around when the tethered ball attached at the end of this rope is hit by a racket during the gameplay.
• I had to design the "Base" as a single unit; hence I decided to go with blow molding for manufacturing this "Base" and designed it complying with the blow molding standards.
• To make the game kit stable and wobble-free, I have used two plates to secure the base pole with the base. One is a hexagonal plate that is welded to the base pole in the middle. It sits at the top of the "Base" inside a hexagonal housing. This hexagonally shaped plate prevents the pole from rotating. The other is a circular plate that is connected securely to the bottom of the "Base Pole" via two spring-loaded lock pins. This circular plate sits at the bottom of the base inside a circular housing.
• To provide a firm connection between the poles, I used two locking mechanisms. You can see that one pole has a female connector at its bottom with an internal thread, and the other pole has a male connector at its top with an external thread. These are made of HDPE plastic, injection molded around the steel poles, making a permanent fix. I chose a hollow cylindrical steel pole readily available in the market. Proper supports are pre-welded to the poles for providing a permanent connection to the injection-molded parts around the poles. Also, the bottom few inches of the top pole are shrunk to have a smaller outer diameter to fit into the bottom pole. To couple the poles, these two plastic connectors are screwed to each other by turning the female connector in the top pole clockwise, which forms the first connection. As the connectors are screwed together, the top pole fits into the bottom pole, as the bottom few inches of the top pole has a smaller outer diameter. Two spring-loaded lock pins in the top pole provide the second connection. Before screwing the plastic connectors together, the spring-loaded lock pins are pressed in manually. As soon as the plastic connectors get screwed together completely, the lock pins automatically get locked into the two holes in the bottom pole. To dismantle the poles, just press the lock pins in and twist the female connector anti-clockwise until the top pole comes off the bottom pole completely.
• The two attachments can be connected to the "Pole Extension" via two spring-loaded lock pins situated at its top. These two lock pins automatically lock into the holes in the attachments when they are placed over the "Pole Extension" and pressed down.
Published